
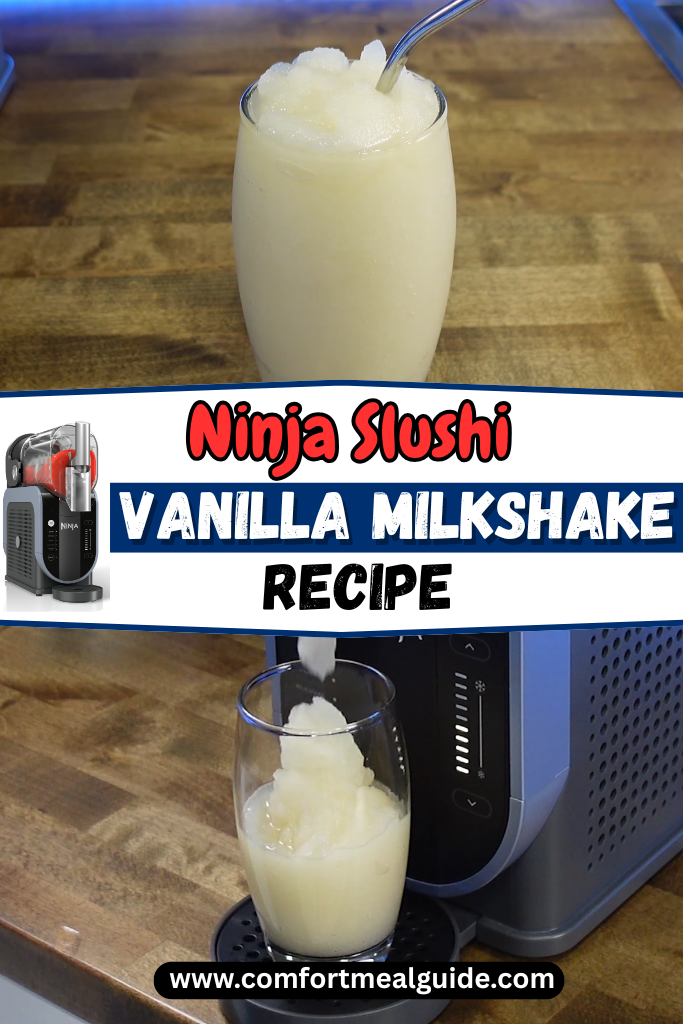
Ninja Slushi Vanilla Milkshake Recipe
You know, I didn’t expect to fall in love with a milkshake all over again—until I tried the Ninja Slushi Vanilla Milkshake Recipe at home. I was just looking for something cold, sweet, and smooth, but what I got was way more than that. The texture, the flavor—it hit different.
What makes it so special? Well, the Ninja Slushi machine does magic. It gives this milkshake a soft, slushy twist that feels cool on your tongue and never too heavy.
It tastes like creamy vanilla ice cream but lighter and extra chill. I always say this is the milkshake you didn’t know you needed—until now.
And if you already love the Ninja Slushi Milkshake, then you’ll want to stick around for this vanilla version. Let’s get mixing!
Ninja Slushi Vanilla Milkshake vs. Regular Vanilla Milkshake
When I first tried the Ninja Slushi Vanilla Milkshake, I wondered how it stacked up against a regular vanilla milkshake. Here’s what I found:
- Texture: The Ninja Slushi makes a light, frosty shake with a slushy vibe. Regular milkshakes, blended in a standard blender, can be thicker but sometimes watery if overmixed.
- Speed: My Ninja Slushi whips up a milkshake in about 15–30 minutes, no prep needed. A regular milkshake takes just a few minutes but requires softened ice cream or extra blending.
- Flavor Control: With the Slushi, I tweak the sweetness and thickness easily. Regular milkshakes depend on the ice cream’s flavor, with less room to adjust.
The Ninja Slushi creates a unique, icy texture that feels like a treat from a fancy dessert shop. Regular milkshakes are great for quick fixes, but the Slushi’s consistency and ease make it my go-to for a refreshing sip.
Ninja Slushi Vanilla Milkshake Recipe
Let’s dive into the ingredients for my Ninja Slushi Vanilla Milkshake Recipe. I keep it simple with just a few items, but each one plays a big role in making this shake taste amazing.
Ingredients
- Whole Milk (2 cups): This is the base of the milkshake, giving it a creamy, smooth feel. I use whole milk because the fat makes it rich and tasty. If you want a lighter option, 2% milk works, but it won’t be as thick.
- Heavy Cream (1/2 cup): This adds extra creaminess and a touch of luxury. It helps the shake stay frosty in the Ninja Slushi without turning icy.
- Granulated Sugar (1/4 cup): Sugar sweetens the mix just right. I whisk it until it dissolves completely to avoid any grainy bits. You can use less if you like a milder sweetness.
- Pure Vanilla Extract (1 tablespoon): This is the star! I pick high-quality vanilla extract for a strong, warm flavor that screams classic milkshake. Don’t use imitation vanilla—it’s not the same.
- Whipped Cream (optional, for topping): I love adding a dollop of whipped cream on top for a fun, diner-style look. It’s like a cherry on top, but fluffier!
These ingredients come together to create a smooth, sweet, and refreshing milkshake that’s perfect any time of day.
Helpful Swaps
If you’re missing an ingredient or want to mix things up, here are some swaps I’ve tried that work great:
- Milk: Swap whole milk for almond, oat, or coconut milk for a dairy-free version. Oat milk keeps it creamy, while almond is lighter.
- Heavy Cream: Use half-and-half or skip it for a less rich shake. Coconut cream is awesome for a tropical twist.
- Sugar: Try honey, maple syrup, or a sugar-free sweetener like stevia. Just make sure it dissolves well.
- Vanilla Extract: Vanilla bean paste gives a fancier flavor with pretty specks. Use the same amount.
These swaps let you tweak the recipe to fit your pantry or taste. Experiment and find your favorite combo!
Kitchen Equipment Needed
To make this Ninja Slushi Vanilla Milkshake, you don’t need much gear. Here’s what I use:
- Ninja Slushi Professional Frozen Drink Maker: The star of the show! It freezes and blends the mix into a perfect slushy texture.
- Large Bowl or Pitcher: I mix the ingredients in a big bowl to whisk everything smoothly.
- Whisk: A simple whisk helps dissolve the sugar and blend the liquids evenly.
- Measuring Cups and Spoons: These keep my ingredient amounts spot-on for the best flavor.
- Cups or Glasses: I use tall glasses to serve the milkshake, plus straws for sipping.
- Spoon (optional): If I add whipped cream, a spoon helps with topping it neatly.
That’s it! The Ninja Slushi does most of the work, so setup is quick and easy.
How To Make Ninja Slushi Vanilla Milkshake
Now, let’s get to the fun part—making the Ninja Slushi Vanilla Milkshake! I’ve broken it down into simple steps so even beginners can follow along. Here’s how I do it:
Step 1 | Prep the Ingredients
Grab your whole milk, heavy cream, sugar, and vanilla extract. Measure them out—2 cups milk, 1/2 cup heavy cream, 1/4 cup sugar, and 1 tablespoon vanilla extract. Having everything ready makes this super smooth.
Step 2 | Mix It Up
In a large bowl or pitcher, pour in the milk and heavy cream. Add the sugar and whisk it well. Keep whisking until the sugar completely dissolves—you don’t want any gritty bits. Then, stir in the vanilla extract. Give it a good mix so the vanilla spreads evenly.
Step 3 | Set Up the Ninja Slushi
Make sure your Ninja Slushi is clean and on a flat surface. Slide the condensation catch under the evaporator, then install the auger by sliding it over the evaporator and twisting it into place. Pop the vessel over the auger, push the bail handle back to lock it, and insert the drip tray in front of the motor base.
Step 4 | Pour the Mix
Open the cover on top of the Ninja Slushi vessel. Pour your milkshake mixture through the easy-fill port. Don’t fill past the 64-ounce max line, and make sure you have at least 16 ounces of liquid. Close the cover tightly.
Step 5 | Start the Machine
Plug in the Ninja Slushi and press the power button to turn it on. Press the “Milkshake” preset button. The machine starts at the default temperature, which is perfect for a creamy texture. If you want it icier, press the big snowflake button to make it colder.
Step 6 | Wait for the Magic
The Slushi takes about 15–30 minutes to freeze the mix, depending on how cold your ingredients are. The machine will beep three times when it’s ready, and the lights will stop pulsing. It keeps spinning to hold the perfect texture, so don’t turn it off yet.
Step 7 | Serve It Up
Place a tall glass on the drip tray under the handle. Slowly pull the handle to dispense the milkshake. Stop when your glass is full. If you want, top it with whipped cream for extra fun. Sip through a straw or grab a spoon!
Recipe Tips for Success
Here are some quick tips I learned to make the Ninja Slushi Vanilla Milkshake even better:
- Chill Ingredients: Keep milk and cream cold before mixing. It helps the Slushi freeze faster.
- Dissolve Sugar Fully: Whisk the sugar until it’s gone, or the shake might feel grainy.
- Don’t Overfill: Stick to the 64-ounce max to avoid spills in the machine.
- Dispense Quickly: Serve within 30 minutes after the beep to avoid a foamy texture.
- Tweak Thickness: Add more milk for a thinner shake or less for a thicker one.
- Clean Right Away: Rinse the Slushi after use to prevent sticky buildup.
These tricks keep the process smooth and the milkshake tasty every time!
Make Ahead Tips
I love prepping my Ninja Slushi Vanilla Milkshake mix ahead to save time. You can whisk the milk, cream, sugar, and vanilla extract a day before and store it in an airtight container in the fridge.
Give it a quick stir before pouring it into the Ninja Slushi. Don’t freeze the mix, as it can mess with the machine’s texture. If you have leftovers after dispensing, pour them into a bottle and refrigerate.
The next day, pour it back into the Slushi, and it’ll freeze up perfectly again. This trick works great for busy days or when I’m hosting friends. Just don’t store the mix for more than a day to keep it fresh.
What Can Serve With Ninja Slushi Vanilla Milkshake
A Ninja Slushi Vanilla Milkshake is awesome on its own, but pairing it with snacks makes it even better. Here’s what I serve with it:
- Cookies: Chocolate chip or sugar cookies add a sweet crunch that matches the creamy shake.
- French Fries: The salty, crispy fries with the sweet milkshake are a classic combo I can’t resist.
- Fruit Slices: Fresh strawberries or bananas bring a light, juicy contrast.
- Brownies: A fudgy brownie bite with a sip of vanilla shake is pure heaven.
These pairings turn the milkshake into a fun dessert experience. Cookies and fries are my favorites for that perfect sweet-salty balance, while fruit keeps it fresh. Try mixing and matching to see what you love best!
How to Store Ninja Slushi Vanilla Milkshake
Storing a Ninja Slushi Vanilla Milkshake is easy if you have leftovers. I pour any extra into an airtight container or bottle and pop it in the fridge.
It stays good for about 24 hours. Don’t freeze it, as that can make the texture grainy when you reblend. When you’re ready for round two, give the mix a quick shake or stir, then pour it back into the Ninja Slushi.
Run the milkshake preset again, and it’ll be frosty and delicious. Make sure to clean the container well after to avoid any milk smells. This method saves time and lets me enjoy the shake later without wasting a drop!
Ninja Slushi Vanilla Milkshake Recipe FAQs
1. Can I add ice cream to the Ninja Slushi?
No, don’t add ice cream to the Ninja Slushi. The machine is designed for liquid mixes, not solids. Ice cream can clog it or mess up the texture. I stick to milk, cream, sugar, and vanilla for a smooth, frosty shake that’s just as creamy.
2. What if my milkshake is too thick?
If it’s too thick, it might be too cold. Press the small snowflake button to warm it slightly, or add a splash more milk to the mix. I had this happen once, and adding 1/4 cup milk fixed it. Dispense right after adjusting to get a smoother flow.
3. Why is my milkshake foamy?
Foam happens if you wait too long to dispense after the machine beeps. I learned to serve within 30 minutes to keep it smooth. Also, don’t turn off the preset until you’ve poured it all out. This keeps the texture creamy and not bubbly.
4. Can I use a blender instead of a Ninja Slushi?
You can, but the texture won’t be the same. A blender makes a thicker, less slushy milkshake. I tried it once, and it was good but not as frosty. If you use a blender, blend milk, cream, sugar, and vanilla with some ice for a closer match.
5. How do I clean the Ninja Slushi after making the milkshake?
Cleaning is easy! Pour hot water into the vessel, press the rinse button, and dispense the water. Then, wash the vessel, auger, and drip tray by hand or in the dishwasher. I wipe the base with a damp cloth. Do it right after to avoid sticky residue.
6. Can I add flavors like chocolate or strawberry?
Yes, you can mix in flavors! For chocolate, add 2 tablespoons cocoa powder or chocolate syrup. For strawberry, blend in 1/2 cup fresh strawberry puree. I tried chocolate once, and it was amazing. Just whisk the extra flavor into the mix before pouring.
Ninja Slushi Vanilla Milkshake Recipe
Creamy Ninja Slushi Vanilla Milkshake made in just 25 mins! This rich milkshake recipe blends whole milk, cream & vanilla for a dreamy frozen treat.
Ingredients
- Whole Milk – 2 cups
- Heavy Cream – 1/2 cup
- Granulated Sugar – 1/4 cup
- Pure Vanilla Extract – 1 tablespoon
- Whipped Cream (optional, for topping)
Instructions
Step 1 | Prep the Ingredients
Grab your whole milk, heavy cream, sugar, and vanilla extract. Measure them out—2 cups milk, 1/2 cup heavy cream, 1/4 cup sugar, and 1 tablespoon vanilla extract. Having everything ready makes this super smooth.
Step 2 | Mix It Up
In a large bowl or pitcher, pour in the milk and heavy cream. Add the sugar and whisk it well. Keep whisking until the sugar completely dissolves—you don’t want any gritty bits. Then, stir in the vanilla extract. Give it a good mix so the vanilla spreads evenly.
Step 3 | Set Up the Ninja Slushi
Make sure your Ninja Slushi is clean and on a flat surface. Slide the condensation catch under the evaporator, then install the auger by sliding it over the evaporator and twisting it into place. Pop the vessel over the auger, push the bail handle back to lock it, and insert the drip tray in front of the motor base.
Step 4 | Pour the Mix
Open the cover on top of the Ninja Slushi vessel. Pour your milkshake mixture through the easy-fill port. Don’t fill past the 64-ounce max line, and make sure you have at least 16 ounces of liquid. Close the cover tightly.
Step 5 | Start the Machine
Plug in the Ninja Slushi and press the power button to turn it on. Press the “Milkshake” preset button. The machine starts at the default temperature, which is perfect for a creamy texture. If you want it icier, press the big snowflake button to make it colder.
Step 6 | Wait for the Magic
The Slushi takes about 15–30 minutes to freeze the mix, depending on how cold your ingredients are. The machine will beep three times when it’s ready, and the lights will stop pulsing. It keeps spinning to hold the perfect texture, so don’t turn it off yet.
Step 7 | Serve It Up
Place a tall glass on the drip tray under the handle. Slowly pull the handle to dispense the milkshake. Stop when your glass is full. If you want, top it with whipped cream for extra fun. Sip through a straw or grab a spoon!
Nutrition Information:
Serving Size: 1Amount Per Serving: Calories: 215Total Fat: 13gSaturated Fat: 8gCholesterol: 50mgSodium: 60mgCarbohydrates: 21gSugar: 20gProtein: 4g