
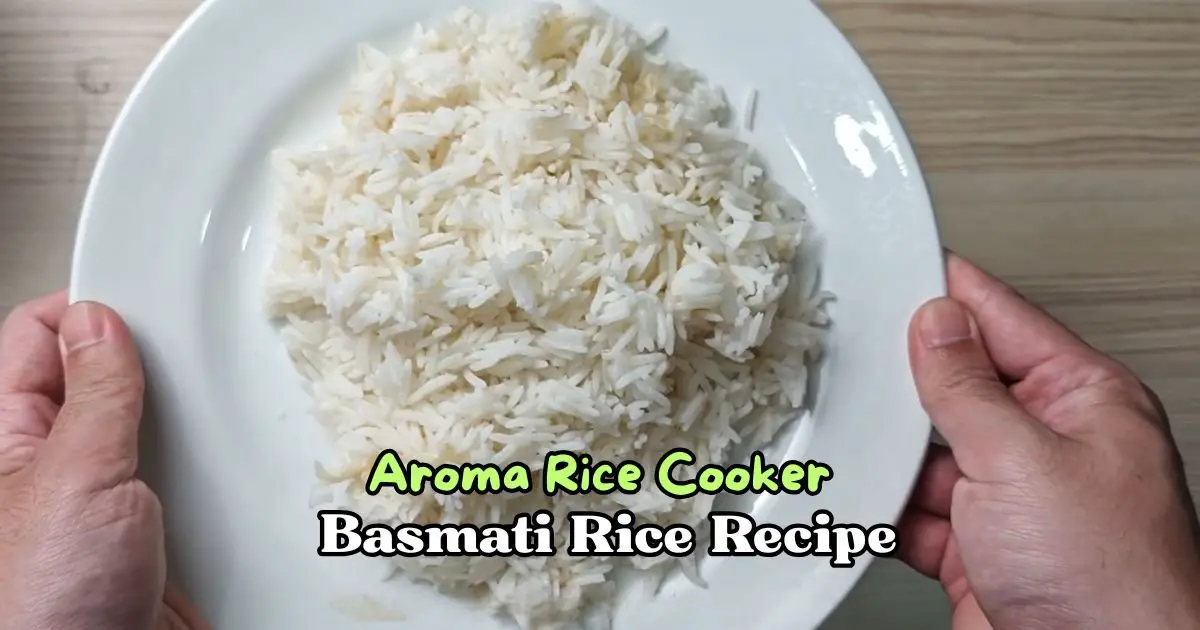
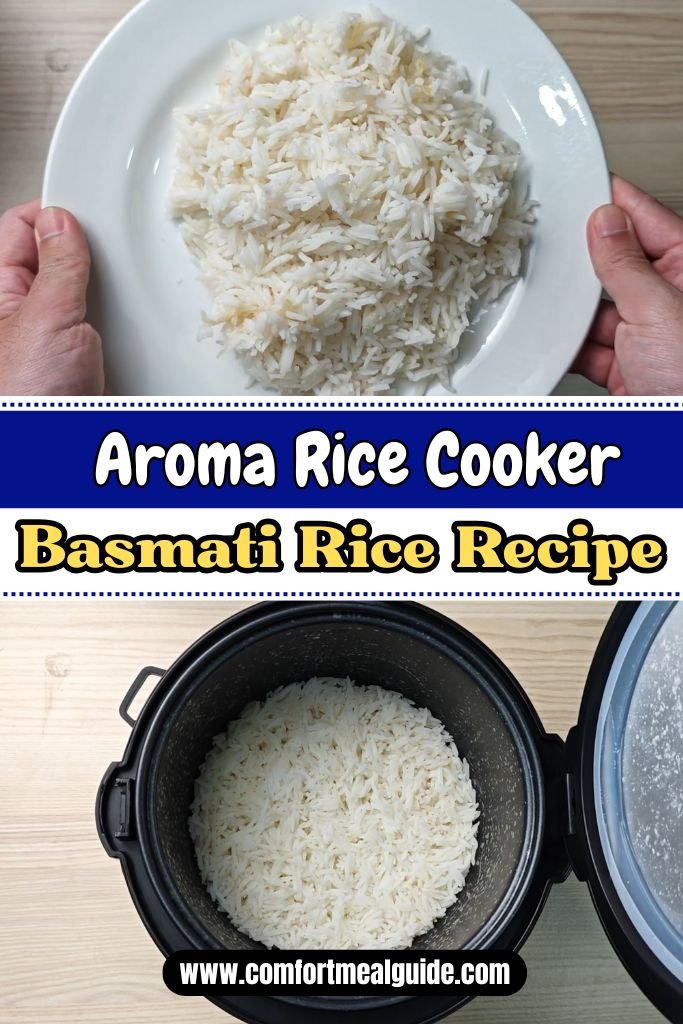
Aroma Rice Cooker Basmati Rice Recipe
I love the smell of basmati rice cooking in my kitchen—it’s like a warm hug from faraway places! My Aroma Rice Cooker Basmati Rice Recipe makes it super easy to get fluffy, tasty rice every time.
Using an Aroma rice cooker, you can skip the tricky stovetop steps and still enjoy perfect rice. Imagine soft, long grains that go great with your favorite curry or grilled chicken.
You’ll love this recipe because it’s quick, foolproof, and smells amazing. Try it tonight, and your dinner will feel special!
Want to mix things up? Check out my Aroma Rice Cooker Brown Rice Recipe for a nutty twist.
Why You Love This Aroma Rice Cooker Basmati Rice
This recipe is a game-changer, and here’s why:
- So Easy: Just rinse, add water, and press a button. No watching pots!
- Perfect Every Time: The Aroma rice cooker makes fluffy, non-sticky rice.
- Smells Amazing: Basmati’s nutty aroma fills your kitchen with cozy vibes.
- Goes with Anything: Pairs great with curries, veggies, or meat.
I can’t get enough of how simple this is. The rice cooker does all the work, so I can focus on making a yummy curry or chatting with my family.
Aroma Rice Cooker Basmati Rice Ingredients
Here’s what you need to make this dish. Each ingredient matters for that perfect fluffy rice.
- Basmati Rice (1 cup): This long-grain rice is the star! It’s grown in India and Pakistan, with a nutty smell and soft texture. I use high-quality aged basmati from an Indian grocery store for the best flavor. Look for extra-long grains with a slight golden color, not pure white.
- Water (1¾ cups): Water cooks the rice and helps it fluff up. I use cold tap water. The Aroma rice cooker needs a 1:1.75 ratio for basmati to avoid mushy grains. Always measure carefully!
- Olive Oil (1 teaspoon): A tiny bit of oil keeps the rice grains separate and adds a subtle richness. You can use vegetable oil, but I love olive oil’s mild taste.
- Salt (½ teaspoon): Salt brings out the rice’s natural flavor. I use regular table salt, but kosher salt works too. Don’t skip it unless you’re serving the rice with a salty dish.
- Optional: Cardamom Pods (2): These add a sweet, spicy aroma that makes the rice extra special. I pop them in whole and remove them before serving. Find them at Indian stores or big supermarkets.
- Optional: Bay Leaf (1): A bay leaf gives a gentle, earthy flavor. I toss one in for fancy dinners. Remove it before eating, as it’s not meant to be chewed.
Helpful Swaps
If you’re missing something, don’t worry! Try these swaps:
- Rice: No basmati? Use jasmine rice, but reduce water to 1½ cups per cup of rice.
- Oil: Swap olive oil for butter, ghee, or vegetable oil. Ghee adds a rich, nutty taste.
- Spices: Skip cardamom or bay leaf if you don’t have them. Try a pinch of cumin seeds for a different flavor.
- Water: You can use low-sodium chicken broth for extra flavor, but adjust salt to avoid it being too salty.
Kitchen Equipment Needed
You don’t need much to make this rice. Here’s the list:
- Aroma Rice Cooker: I use a 6-cup digital Aroma rice cooker. Any model works, but check your manual for water ratios.
- Measuring Cup: The one that comes with the rice cooker is best. If not, use a standard 240ml cup.
- Fine Mesh Strainer: This helps rinse the rice to remove extra starch. A colander with small holes works too.
- Spoon or Rice Paddle: Use the plastic paddle from the rice cooker to fluff and serve. Wood or plastic spoons are fine to avoid scratching the pot.
- Small Bowl: For soaking the rice (optional but helpful).
- Kitchen Towel: Handy for cleaning up any spills.
How To Make Aroma Rice Cooker Basmati Rice
Making this rice is so easy, even if you’re new to cooking. Follow these steps, and you’ll have perfect basmati rice in no time. I’ve broken it down so you can’t go wrong!
Step 1 | Measure the Rice
Grab your measuring cup and scoop 1 cup of basmati rice. I always double-check to make sure it’s level for the best results.
Step 2 | Rinse the Rice
Put the rice in a fine mesh strainer or a bowl. Run cold water over it and swish with your hands. Do this 3-4 times until the water looks mostly clear. This removes starch so the rice doesn’t stick together. I learned this trick from my mom, and it makes a big difference!
Step 3 | Soak the Rice (Optional)
If you have 30 minutes, soak the rice in a bowl with 1 cup of water. This makes the grains longer and fluffier. Drain it well after soaking. I skip this when I’m in a hurry, and it’s still great.
Add to the Rice Cooker: Place the rinsed (or soaked and drained) rice in the inner pot of your Aroma rice cooker. Spread it out evenly with your spoon.
Step 4 | Add Water
Pour in 1¾ cups of cold water. I use a liquid measuring cup to be exact. The water should cover the rice nicely.
Step 5 | Add Oil and Salt
Drizzle 1 teaspoon of olive oil over the rice. Sprinkle in ½ teaspoon of salt. Stir gently to mix everything.
Step 6 | Add Spices (Optional)
If you want extra flavor, drop in 2 cardamom pods and 1 bay leaf. I love this for special dinners—it makes the kitchen smell like a fancy restaurant!
Step 7 | Set Up the Rice Cooker
Place the inner pot in the rice cooker. Close the lid tight. Plug it into a 120V outlet. I always make sure the lid clicks to keep the steam in.
Step 8 | Start Cooking
Press the POWER button to turn on the rice cooker. Then press the WHITE RICE button. The light will glow, and the cooker will start. You’ll see a chasing pattern on the display until it counts down the last 12 minutes.
Step 9 | Wait for It
The rice takes about 20-25 minutes to cook. You don’t need to stir or check it—just let the rice cooker do its magic. I usually chop veggies or set the table while it cooks.
Step 10 | Let It Rest
When the rice is done, the cooker beeps and switches to KEEP WARM. Let the rice sit with the lid closed for 10 minutes. This makes it extra fluffy. I learned this the hard way after opening it too soon once!
Step 11 | Fluff and Serve
Open the lid carefully to avoid steam. Remove the cardamom pods and bay leaf if you used them. Use a rice paddle or spoon to fluff the rice gently. Scoop it into bowls and enjoy!
Recipe Tips for Success
Here are some quick tips to make your rice even better. These aren’t in the steps but help a lot:
- Use Aged Rice: Older basmati (aged at least a year) has the best flavor and texture. Check the package or ask at an Indian store.
- Don’t Peek: Keep the lid closed while cooking. Opening it lets steam escape and messes up the rice.
- Measure Exactly: Too much water makes mushy rice; too little makes it hard. Stick to 1:1.75 ratio.
- Clean the Pot: Wipe the rice cooker pot after each use to avoid sticking next time. I soak mine in warm water for easy cleaning.
- Try a Pinch of Lemon Juice: A teaspoon of lemon juice keeps the rice white and fluffy. It won’t taste lemony.
- Adjust for Altitude: If you live high up (like in the mountains), you might need a bit more water. Try adding 2 tablespoons extra.
Aroma Rice Cooker Basmati Rice Serving Suggestion
This rice is so versatile! Here are some ideas to serve it:
- With Curry: Spoon it next to chicken tikka masala or veggie curry. The rice soaks up the sauce perfectly.
- As a Side: Pair with grilled chicken, fish, or steak for a simple, yummy meal.
- In a Bowl: Add roasted veggies, chickpeas, and a drizzle of yogurt for a healthy rice bowl.
- With Stir-Fry: Serve with a quick veggie stir-fry for a fast weeknight dinner.
I love serving this rice with my favorite butter chicken—it’s a match made in heaven! The fluffy grains catch every bit of sauce, making each bite delicious.
How to Store Aroma Rice Cooker Basmati Rice
Let the rice cool completely before storing. I spread it on a plate to cool faster. Put it in an airtight glass container and pop it in the fridge.
It stays good for 4-5 days. To reheat, add 1-2 tablespoons of water, cover with a damp paper towel, and microwave for 1-2 minutes, stirring halfway.
For freezing, put cooled rice in a freezer-safe bag. Flatten it to save space. It keeps for up to 3 months. Reheat from frozen with a splash of water in the microwave. I love having frozen rice for quick meals—it’s a lifesaver on busy days!
Aroma Rice Cooker Basmati Rice Recipe FAQs
1. Can I use brown basmati rice in this recipe?
Yes! Use the BROWN RICE setting on your Aroma rice cooker. Increase water to 2 cups per 1 cup of rice. It takes longer—about 40-50 minutes—but comes out chewy and nutty. Rinse and soak it like white basmati for best results. Check my Aroma Rice Cooker Brown Rice Recipe for more tips.
2. Why is my rice mushy?
Mushy rice usually means too much water or not rinsing enough. Stick to 1¾ cups water per 1 cup of rice and rinse 3-4 times until the water’s clear. Also, don’t skip the 10-minute rest after cooking—it helps the rice firm up.
3. Do I have to soak the rice?
No, soaking is optional. I soak for 30 minutes when I want extra-long, fluffy grains, but skipping it still gives great rice. If you don’t soak, rinse well and use the same water ratio (1:1.75). It’s all about what fits your schedule!
4. Can I add spices to the rice?
Absolutely! I love adding cardamom pods or a bay leaf for aroma. You can also try cumin seeds, cloves, or a cinnamon stick. Add them before cooking and remove before serving. Start with 1-2 spices to keep the flavor gentle.
5. How do I clean my Aroma rice cooker?
After cooking, unplug the cooker and let it cool. Remove the inner pot and wash it with warm, soapy water. Avoid metal scrubbers to protect the non-stick surface. Wipe the inside of the cooker with a damp cloth. I soak the pot for 10 minutes if rice sticks.
6. Can I double the recipe?
Yes, you can double it, but don’t overfill your rice cooker. For 2 cups of rice, use 3½ cups of water, 2 teaspoons oil, and 1 teaspoon salt. Check your cooker’s manual for max capacity (usually 6 cups cooked rice). Cooking time stays about the same.
Aroma Rice Cooker Basmati Rice Recipe

Make perfect Aroma Rice Cooker Basmati Rice in just 45 minutes! Fluffy, fragrant, and easy every time with this simple recipe and precise method.
Ingredients
- Basmati Rice – 1 cup (uncooked, preferably aged, long-grain)
- Water – 1¾ cups (cold)
- Olive Oil – 1 teaspoon (or vegetable oil)
- Salt – ½ teaspoon (table or kosher salt)
- Optional Ingredients:
- Cardamom Pods – 2 (whole)
- Bay Leaf – 1 (whole)
Instructions
Step 1 | Measure the Rice
Grab your measuring cup and scoop 1 cup of basmati rice. I always double-check to make sure it’s level for the best results.
Step 2 | Rinse the Rice
Put the rice in a fine mesh strainer or a bowl. Run cold water over it and swish with your hands. Do this 3-4 times until the water looks mostly clear. This removes starch so the rice doesn’t stick together. I learned this trick from my mom, and it makes a big difference!
Step 3 | Soak the Rice (Optional)
If you have 30 minutes, soak the rice in a bowl with 1 cup of water. This makes the grains longer and fluffier. Drain it well after soaking. I skip this when I’m in a hurry, and it’s still great.
Add to the Rice Cooker: Place the rinsed (or soaked and drained) rice in the inner pot of your Aroma rice cooker. Spread it out evenly with your spoon.
Step 4 | Add Water
Pour in 1¾ cups of cold water. I use a liquid measuring cup to be exact. The water should cover the rice nicely.
Step 5 | Add Oil and Salt
Drizzle 1 teaspoon of olive oil over the rice. Sprinkle in ½ teaspoon of salt. Stir gently to mix everything.
Step 6 | Add Spices (Optional)
If you want extra flavor, drop in 2 cardamom pods and 1 bay leaf. I love this for special dinners—it makes the kitchen smell like a fancy restaurant!
Step 7 | Set Up the Rice Cooker
Place the inner pot in the rice cooker. Close the lid tight. Plug it into a 120V outlet. I always make sure the lid clicks to keep the steam in.
Step 8 | Start Cooking
Press the POWER button to turn on the rice cooker. Then press the WHITE RICE button. The light will glow, and the cooker will start. You’ll see a chasing pattern on the display until it counts down the last 12 minutes.
Step 9 | Wait for It
The rice takes about 20-25 minutes to cook. You don’t need to stir or check it—just let the rice cooker do its magic. I usually chop veggies or set the table while it cooks.
Step 10 | Let It Rest
When the rice is done, the cooker beeps and switches to KEEP WARM. Let the rice sit with the lid closed for 10 minutes. This makes it extra fluffy. I learned this the hard way after opening it too soon once!
Step 11 | Fluff and Serve
Open the lid carefully to avoid steam. Remove the cardamom pods and bay leaf if you used them. Use a rice paddle or spoon to fluff the rice gently. Scoop it into bowls and enjoy!
Nutrition Information:
Serving Size: 1Amount Per Serving: Calories: 216Total Fat: 2.7gSaturated Fat: 0.4gSodium: 390mgCarbohydrates: 44.4gFiber: 0.7gSugar: 0.1gProtein: 4.2g
Did you make this Aroma Rice Cooker Basmati Rice Recipe? Please leave a ⭐ rating and review!