Ninja Slushi Ice Cream Recipe
Have you ever had a cold treat that’s both icy and creamy at the same time? That’s what my Ninja Slushi Ice Cream Recipe is all about.
I made this at home using my Ninja Slushi machine, and wow—it’s become my new favorite way to cool down on a hot day.
You get that smooth ice cream feel but with a slushy twist. It’s not too sweet, not too heavy—just right. The taste? Think of soft vanilla ice cream but lighter and fun to sip or scoop.
I love how easy it is to make, and even more, how refreshing it feels. If you like the sound of this, you might also enjoy my Ninja Slushi Margarita Recipe. Let’s jump in—I’ll show you everything step-by-step.

Ninja Slushi Ice Cream vs. Regular Ice Cream
How does this stack up against traditional ice cream? Let’s break it down:
- Speed: Ninja Slushi takes 30-40 minutes; regular ice cream can take hours or overnight.
- Equipment: No need for a big ice cream maker or pre-frozen bowls—just the Slushi.
- Flavor: Slushi keeps the taste bold since it doesn’t use ice, unlike some homemade versions.
- Ease: Slushi is beginner-friendly; traditional methods need more steps like churning custard.
The Ninja Slushi wins for me because it’s fast and fuss-free. Regular ice cream is great, but it’s a project. With the Slushi, I get that same creamy goodness without the wait or extra tools, making it perfect for spontaneous cravings.
Ninja Slushi Ice Cream Ingredients
Here’s what you’ll need for this yummy treat. Each ingredient plays a big role in making it creamy and delicious.
- Whole Milk (2 cups): This gives the ice cream its rich, smooth base. I use full-fat milk for the best texture, but 2% works too if you want it a bit lighter.
- Heavy Cream (1 cup): This adds that thick, creamy feel. It’s what makes the ice cream feel indulgent and velvety.
- Granulated Sugar (¾ cup): Sugar sweetens the mix and helps it freeze properly in the Slushi. Don’t skip it—it’s key for the right consistency.
- Vanilla Extract (1 tablespoon): This brings a warm, classic flavor. Use pure vanilla for the best taste; it really shines through.
- Salt (pinch): A tiny bit of salt balances the sweetness and makes the flavors pop.
Helpful Swaps
If you’re missing something or want to mix it up, try these swaps:
- Milk: Swap whole milk for 2% or even almond milk for a dairy-free version, but it may be less creamy.
- Cream: Use half-and-half instead of heavy cream for a lighter texture.
- Sugar: Honey or maple syrup can work, but use ½ cup since they’re sweeter. The Slushi needs some sugar to freeze right.
- Vanilla: Try almond extract for a nutty twist or skip it if you’re adding other flavors like fruit puree.
Kitchen Equipment Needed
You don’t need much to make this ice cream, which is awesome! Here’s what I use:
- Ninja Slushi Professional Frozen Drink Maker: The star of the show! It churns and freezes the mix into ice cream.
- Large Liquid Measuring Cup: A 4-cup one with a spout makes mixing and pouring easy.
- Whisk: For blending the ingredients smoothly before pouring into the Slushi.
- Spoon or Spatula: To scrape out every bit of the mixture.
- Cups or Bowls: For serving your freshly made ice cream.
How to Make Ninja Slushi Ice Cream
Ready to make this treat? I’ll walk you through each step so even beginners can nail it. Let’s do this!
Step 1 | Get Your Ingredients Ready
Grab your milk, cream, sugar, vanilla, and salt. Measure them out so everything’s set. I like to use a big measuring cup with a spout for easy pouring.
Step 2 | Mix the Base
In your measuring cup, pour in 2 cups of whole milk and 1 cup of heavy cream. Add ¾ cup of sugar, 1 tablespoon of vanilla extract, and a pinch of salt. Whisk it all together until the sugar dissolves completely. This takes about a minute or two. You want it smooth, with no gritty bits.
Step 3 | Set Up the Ninja Slushi
Make sure your Slushi is clean and on a flat counter. Slide the condensation catch under the evaporator, then pop the auger over the evaporator and twist it into place. Slide the vessel over the auger, lock it by pushing the bail handle back, and click the drip tray in front.
Step 4 | Pour the Mixture
Open the cover on top of the Slushi vessel. Pour your milk mixture through the easy-fill port. Don’t fill past the 64-ounce max line—about 3 cups total is perfect. Close the cover.
Step 5 | Choose the Preset
Plug in the Slushi and press the power button. Select the “Milkshake” preset, as it’s great for creamy, dairy-based treats like this ice cream. The machine starts at the default temperature, which is perfect for a soft-serve texture. If you want it thicker, press the up button to increase the freeze level later.
Step 6 | Let It Churn
The Slushi will take about 30-40 minutes to turn your liquid into ice cream. You’ll see the LEDs pulse while it’s freezing. When it beeps and the LEDs stay solid, it’s ready! The machine keeps it at the perfect temp until you dispense.
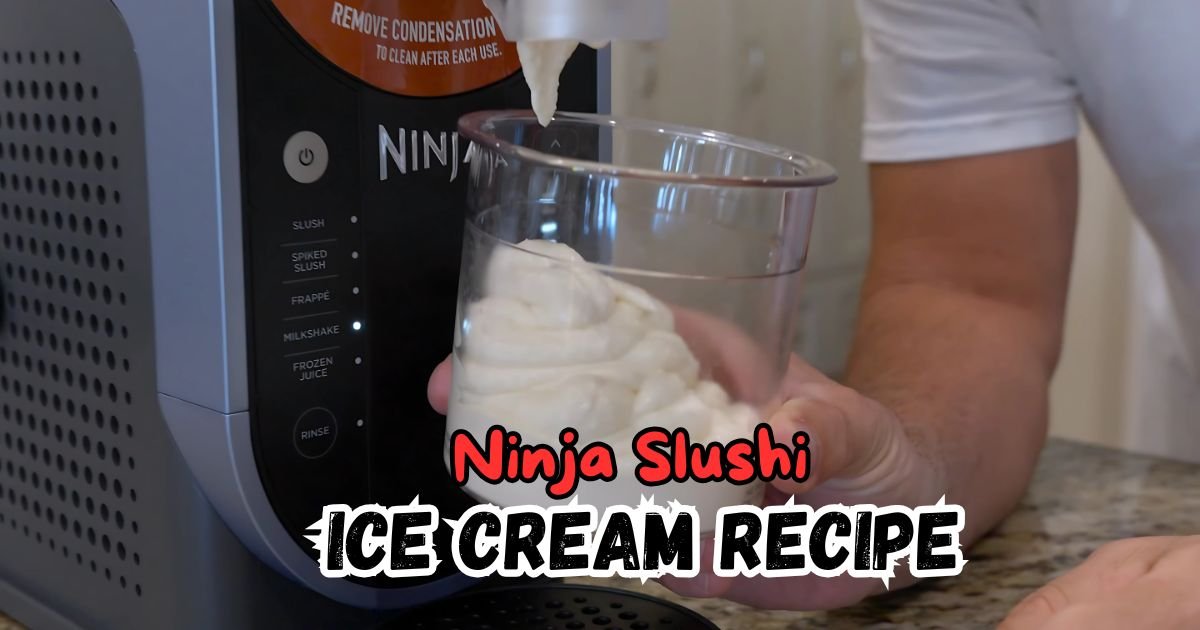
Step 7 | Serve It Up
Place a cup or bowl on the drip tray under the handle. Slowly pull the handle to dispense the ice cream. It comes out smooth and creamy, ready to enjoy. If it’s too soft, press the up button to churn a bit longer for a thicker texture.
Recipe Tips for Success
Here are some quick tips to make your ice cream perfect every time:
- Use Cold Ingredients: Start with refrigerated milk and cream to speed up freezing.
- Don’t Overfill: Stick to 3 cups max to avoid spills and ensure even churning.
- Check Sugar: The Slushi needs sugar to freeze right, so don’t use sugar-free liquids.
- Taste Before Freezing: Sip the mix to make sure it’s sweet enough—it’ll taste less sweet once frozen.
- Clean Right Away: Rinse the Slushi parts after use to keep it ready for next time.
Make Ahead Tips
Want to prep this ice cream ahead? It’s easy! Mix the milk, cream, sugar, vanilla, and salt in your measuring cup, then store it in an airtight container in the fridge for up to 2 days.
When you’re ready, give it a quick whisk and pour it into the Slushi. You can also make a big batch of the liquid base and freeze it in portions (in freezer-safe containers) for up to a month.
Thaw in the fridge overnight before using. This saves time when you’re craving ice cream fast, and the Slushi makes it fresh in minutes.
What Can Serve With Ninja Slushi Ice Cream
This ice cream is amazing on its own, but pairing it with extras makes it a party! Try these:
- Toppings: Sprinkle on chocolate chips, crushed cookies, or fresh berries for crunch and flavor.
- Sauces: Drizzle with caramel, hot fudge, or strawberry sauce for a sundae vibe.
- Waffles or Cones: Serve in a waffle cone or on a warm waffle for a classic treat.
- Fruit: Add sliced bananas or peaches for a fresh, summery twist.
How to Store Ninja Slushi Ice Cream
If you have leftovers (rare in my house!), here’s how to keep them fresh. Scoop the ice cream into an airtight container and pop it in the freezer.
It’ll stay good for about a week, but the texture is best within 2-3 days. To serve, let it sit at room temp for 5 minutes to soften. Don’t refreeze the mix in the Slushi vessel—it’s not meant for long-term storage.
If it gets too hard, you can re-churn a small batch in the Slushi for a minute to bring back that creamy texture.
Ninja Slushi Ice Cream Recipe FAQs
1. Can I use low-fat milk instead of whole milk?
Yes, you can use low-fat milk, like 2% or 1%, but the ice cream won’t be as creamy. Whole milk gives it that rich, smooth texture. If you go low-fat, add a bit more cream to keep it indulgent. Make sure the mix has enough sugar to freeze properly in the Slushi.
2. What if I don’t have heavy cream?
No heavy cream? Try half-and-half or even full-fat coconut milk for a dairy-free option. The texture might be slightly less thick, but it’ll still taste great. Avoid using only milk, as it can make the ice cream icy instead of creamy.
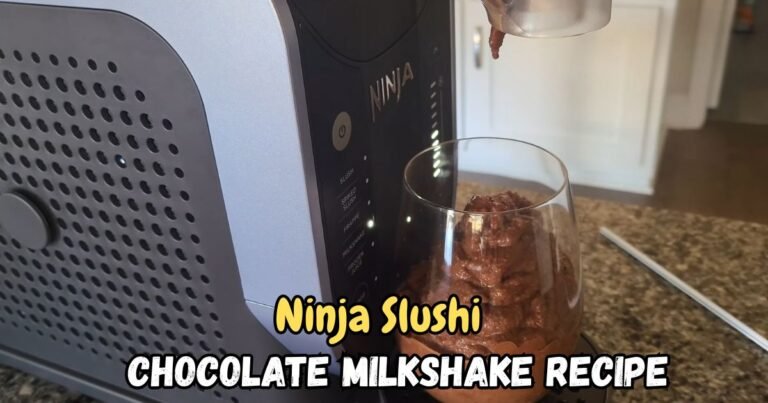
3. How do I make chocolate ice cream with this recipe?
Easy! Add ¼ cup of cocoa powder to the mix before whisking, or stir in ½ cup of chocolate syrup. Whisk well so it’s smooth, then pour into the Slushi. You might need an extra 5 minutes of churning for a thicker result.
4. Why is my ice cream too soft?
If it’s too soft, it might need more churning. Press the up button on the Slushi to increase the freeze level and let it run a bit longer. Also, make sure your ingredients are cold before starting—it helps it freeze faster.
5. Can I use plant-based milk for this recipe?
You can use almond, oat, or coconut milk, but the ice cream may be less creamy. Coconut milk works best for richness. Make sure the mix has enough sugar, and test a small batch to get the texture right.
6. Why does my Slushi beep before it’s ready?
The beep means it’s reached the default freeze level. If it’s not thick enough, press the up button to keep churning. It’ll freeze more and get creamier. Check that you didn’t overfill the vessel, as that can slow things down.
7. How do I clean the Ninja Slushi after making ice cream?
Unplug the Slushi, then remove the vessel, auger, and drip tray. Wash them with warm, soapy water and rinse well. Wipe the motor base with a damp cloth. Dry everything before reassembling. It’s quick and keeps your machine ready for next time.
Ninja Slushi Ice Cream Recipe

Make creamy Ninja Slushi Ice Cream in just 40 minutes using milk, cream, and vanilla. A soft-serve treat perfect for fast, delicious dessert time!
Ingredients
- Whole Milk – 2 cups
- Heavy Cream – 1 cup
- Granulated Sugar – ¾ cup
- Vanilla Extract – 1 tablespoon
- Salt – 1 pinch
Instructions
Step 1 | Get Your Ingredients Ready
Grab your milk, cream, sugar, vanilla, and salt. Measure them out so everything’s set. I like to use a big measuring cup with a spout for easy pouring.
Step 2 | Mix the Base
In your measuring cup, pour in 2 cups of whole milk and 1 cup of heavy cream. Add ¾ cup of sugar, 1 tablespoon of vanilla extract, and a pinch of salt. Whisk it all together until the sugar dissolves completely. This takes about a minute or two. You want it smooth, with no gritty bits.
Step 3 | Set Up the Ninja Slushi
Make sure your Slushi is clean and on a flat counter. Slide the condensation catch under the evaporator, then pop the auger over the evaporator and twist it into place. Slide the vessel over the auger, lock it by pushing the bail handle back, and click the drip tray in front.
Step 4 | Pour the Mixture
Open the cover on top of the Slushi vessel. Pour your milk mixture through the easy-fill port. Don’t fill past the 64-ounce max line—about 3 cups total is perfect. Close the cover.
Step 5 | Choose the Preset
Plug in the Slushi and press the power button. Select the “Milkshake” preset, as it’s great for creamy, dairy-based treats like this ice cream. The machine starts at the default temperature, which is perfect for a soft-serve texture. If you want it thicker, press the up button to increase the freeze level later.
Step 6 | Let It Churn
The Slushi will take about 30-40 minutes to turn your liquid into ice cream. You’ll see the LEDs pulse while it’s freezing. When it beeps and the LEDs stay solid, it’s ready! The machine keeps it at the perfect temp until you dispense.
Step 7 | Serve It Up
Place a cup or bowl on the drip tray under the handle. Slowly pull the handle to dispense the ice cream. It comes out smooth and creamy, ready to enjoy. If it’s too soft, press the up button to churn a bit longer for a thicker texture.
Nutrition Information:
Serving Size: 1Amount Per Serving: Calories: 325Total Fat: 22gSaturated Fat: 13gCholesterol: 80mgSodium: 65mgCarbohydrates: 27gSugar: 25gProtein: 4g