
Ninja Slushi Milkshake Recipe
If you love creamy, ice-cold treats, this Ninja Slushi Milkshake Recipe will become your new favorite. It’s rich, thick, and perfectly chilled, thanks to the Ninja Slushi machine.
The texture is smoother than a regular milkshake but frostier than a slushi—giving you the best of both worlds.
It’s easy to make, fully customizable, and requires no ice or pre-frozen ingredients. You’ll get a perfectly blended, restaurant-quality milkshake right at home.
Plus, you can experiment with different flavors, toppings, and even a splash of alcohol if you’re feeling adventurous!
I first tried making this when testing out my Ninja Slushi machine (which I also used for my Ninja Slushi Alcoholic Recipes!).
The results? A cold, creamy dream that I couldn’t stop sipping. Let me show you how to make this in your own kitchen!
Why I Love This Ninja Slushi Milkshake
When I first tried the Ninja Slushi Milkshake, I was hooked! It’s one of those treats that you can make as a quick dessert or enjoy as a fun afternoon snack. Here’s why I think this recipe is a must-try:
- Quick and Easy: Using the Ninja Slushi machine, you don’t need a lot of complicated steps. Just fill, press a button, and you’re on your way to a delicious frozen treat.
- Perfect Texture: The texture of the milkshake is spot-on. The Ninja Slushi machine ensures that it’s smooth, cold, and frosty – but not too thick.
- Endless Variations: You can easily change up the flavors depending on what you’re in the mood for. You can keep it classic with vanilla or get creative with chocolate, fruit, or even coffee flavors.
- Fun to Make: I love how fun and interactive it is to create these milkshakes. Plus, it’s always a hit with friends and family when I make them!
Ingredients You Will Need
To make your Ninja Slushi Milkshake, you’ll need a few simple ingredients:
- Milk (2 cups): This is the base of the milkshake and gives it that creamy, smooth texture. I prefer whole milk, but you can also use a milk alternative like almond or oat milk for a lighter version.
- Ice Cream (2 cups): Ice cream adds richness and thickness to your milkshake. I love vanilla, but chocolate or strawberry work just as well!
- Sugar (2 tablespoons): If you want a sweeter milkshake, you can add sugar. However, the ice cream might already be sweet enough, so adjust this based on your taste.
- Vanilla Extract (1 teaspoon): A dash of vanilla brings out that classic milkshake flavor.
- Whipped Cream (optional): For that extra special touch on top, whipped cream is a must. It adds a light, airy finish to the drink.
- Chocolate Syrup (optional): If you’re a chocolate lover, add some chocolate syrup on top or even mix it in for a chocolatey twist!
Substitutions & Variations
If you’re looking to switch up the recipe a bit, here are some great substitutions and variations:
- Ice Cream Flavor: You can use any flavor of ice cream! Chocolate, cookies and cream, or even coffee ice cream can give this milkshake a fun twist.
- Sweeteners: If you’re cutting back on sugar, you can use a sugar substitute like stevia or honey to sweeten your milkshake.
- Add-ins: For a fun variation, try adding crushed cookies, chocolate chips, or fresh fruit to your milkshake for extra flavor and texture.
Kitchen Appliances and Tools Needed
- Ninja Slushi Machine: This is the key appliance for creating the perfect slushy milkshake. It uses RapidChill technology to freeze your drink to the ideal texture.
- Measuring Cups and Spoons: You’ll need these to measure the right amounts of ingredients like milk, sweeteners, and flavorings for the milkshake. Accurate measurements are key for the best result.
How To Make Ninja Slushi Milkshake
Making your Ninja Slushi Milkshake is super simple! Just follow these easy steps:
Step 1 | Prepare Your Ingredients
First, gather all your ingredients – milk, ice cream, sugar, and vanilla extract.
Step 2 | Set Up the Ninja Slushi Machine
Make sure the motor base is on a flat surface. Attach the auger and the vessel according to the Ninja Slushi instructions.
Step 3 | Fill the Vessel
Open the easy-fill port on the vessel and add the milk and ice cream. If you want a sweeter milkshake, add the sugar and vanilla extract too.
Step 4 | Start the Machine
Press the power button to turn on the Ninja Slushi machine. Select your desired preset. The machine will begin freezing your milkshake.
Step 5 | Adjust the Temperature
If you prefer a thicker milkshake, increase the temperature. For a smoother, more liquid consistency, decrease the temperature.
Step 6 | Wait for the Slushie to Freeze
It will take about 15-60 minutes, depending on your ingredients and settings. The machine will beep once it’s ready.
Step 7 | Serve
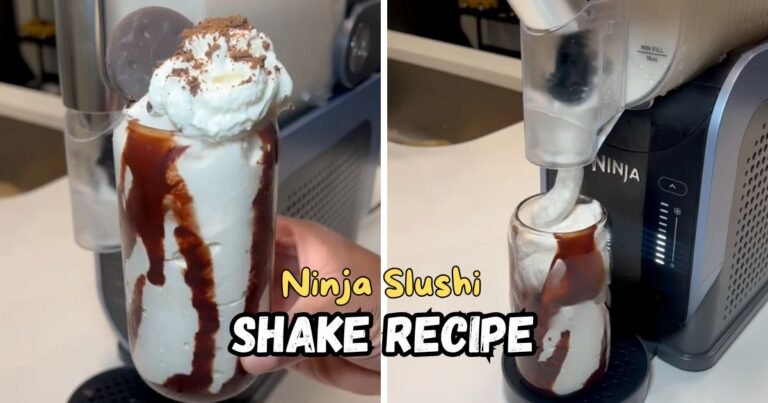
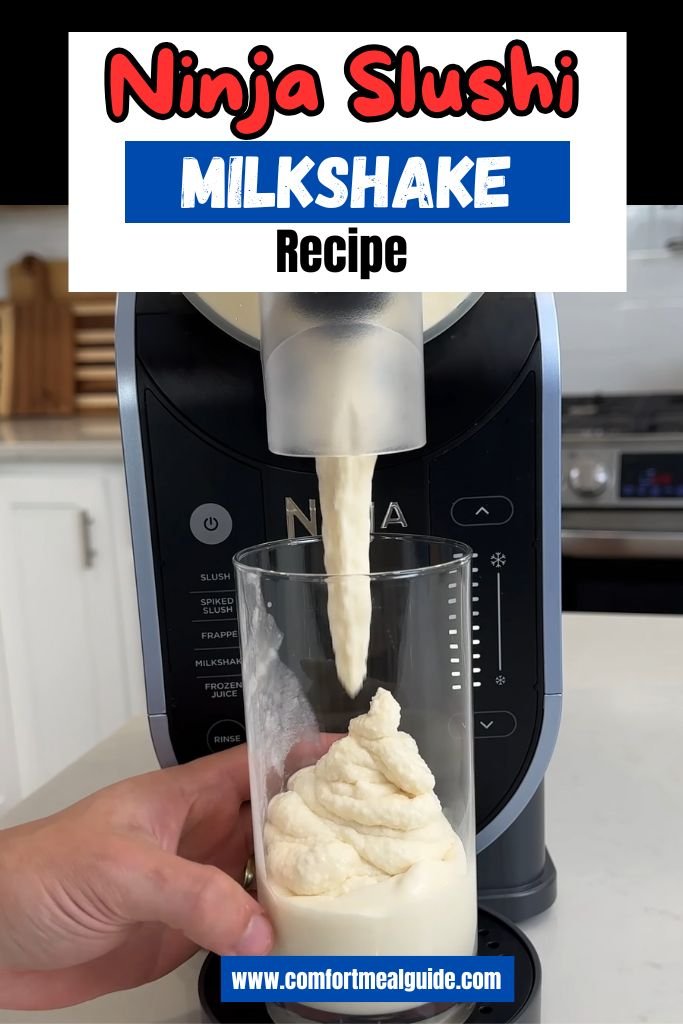
Place your cup under the pour spout and slowly pull the handle to dispense your milkshake.
Step 8 | Top it Off
Add whipped cream and chocolate syrup if desired for extra flavor.
Tips for Making the Perfect Ninja Slushi Milkshake
- Use Pre-Frozen Ingredients: If you want a sweeter taste, consider using pre-frozen milk or ice cream.
- Adjust the Temperature: If your slushie is too thick, decrease the temperature for a smoother consistency.
- Serve Immediately: For the best experience, enjoy your milkshake right after it’s made to keep the texture perfect!
What To Serve With Ninja Slushi Milkshake
Pair your Ninja Slushi Milkshake with some tasty treats for the perfect snack or dessert:
- Cookies: Chocolate chip cookies or oatmeal cookies go wonderfully with this milkshake.
- Brownies: Rich, fudgy brownies make the perfect sidekick for this creamy milkshake.
- Fruit: Fresh fruit like strawberries or bananas balance out the sweetness of the milkshake.
- Waffle Fries: For a savory-sweet combo, serve with crispy waffle fries.
These pairings elevate the experience, giving you both sweet and savory options that complement the frozen milkshake perfectly.
Proper Storage
While the Ninja Slushi Milkshake is best enjoyed fresh, here are some tips on storing any leftover milkshake:
- In the Refrigerator: If you have any milkshake left over, place it in an airtight container and store it in the fridge for up to a day.
- In the Freezer: To preserve the texture, store leftover milkshake in a sealed container in the freezer. When you’re ready to enjoy, let it thaw for about 15 minutes before stirring to bring back the slushy texture.
Ninja Slushi Milkshake Recipe FAQs
1. Can I use frozen fruit in the milkshake?
The Ninja Slushi machine does not recommend adding solid ingredients like frozen fruit. Stick to liquids and ice cream for best results.
2. How do I know when the milkshake is ready?
The Ninja Slushi machine will beep once the milkshake reaches the perfect frozen texture. You’ll also see the LED lights remain solid once it’s ready.
3. What happens if my milkshake is too thick?
If your milkshake is too thick, simply increase the temperature by one level to make it smoother.
4. Can I add alcohol to the milkshake?
Yes, you can! Use the SPIKED SLUSH preset for frozen cocktails, but make sure your alcohol content is between 2.8% and 16%.
5. How do I clean the Ninja Slushi machine?
Use the rinse cycle on the machine to clean it after every use. Make sure to clean all parts thoroughly before storing.
6. Can I make this milkshake without the Ninja Slushi machine?
While it’s best with the Ninja Slushi, you can blend the ingredients in a regular blender, although the texture may not be as smooth or frozen.
7. Can I make a large batch?
Yes, the Ninja Slushi machine can make up to 64 oz of frozen drinks, so feel free to make a big batch for friends or family.
8. What is the best ice cream for a Ninja Slushi Milkshake?
I recommend using rich, full-flavored ice cream like vanilla, chocolate, or cookies and cream for the best results.
Ninja Slushi Milkshake Recipe
Make a Ninja Slushi Milkshake in under an hour! This easy, creamy milkshake recipe is perfect for a sweet treat. Prep, freeze, and enjoy!
Ingredients
- Milk (2 cups)
- Ice Cream (2 cups)
- Sugar (2 tablespoons)
- Vanilla Extract (1 teaspoon)
- Whipped Cream (optional)
- Chocolate Syrup (optional)
Instructions
Step 1 | Prepare Your Ingredients
First, gather all your ingredients – milk, ice cream, sugar, and vanilla extract.
Step 2 | Set Up the Ninja Slushi Machine
Make sure the motor base is on a flat surface. Attach the auger and the vessel according to the Ninja Slushi instructions.
Step 3 | Fill the Vessel
Open the easy-fill port on the vessel and add the milk and ice cream. If you want a sweeter milkshake, add the sugar and vanilla extract too.
Step 4 | Start the Machine
Press the power button to turn on the Ninja Slushi machine. Select your desired preset. The machine will begin freezing your milkshake.
Step 5 | Adjust the Temperature
If you prefer a thicker milkshake, increase the temperature. For a smoother, more liquid consistency, decrease the temperature.
Step 6 | Wait for the Slushie to Freeze
It will take about 15-60 minutes, depending on your ingredients and settings. The machine will beep once it’s ready.
Step 7 | Serve
Place your cup under the pour spout and slowly pull the handle to dispense your milkshake.
Step 8 | Top it Off
Add whipped cream and chocolate syrup if desired for extra flavor.
Nutrition Information:
Serving Size: 2Amount Per Serving: Calories: 350Total Fat: 15gSaturated Fat: 9gCholesterol: 50mgSodium: 100mgFiber: 1gSugar: 35g