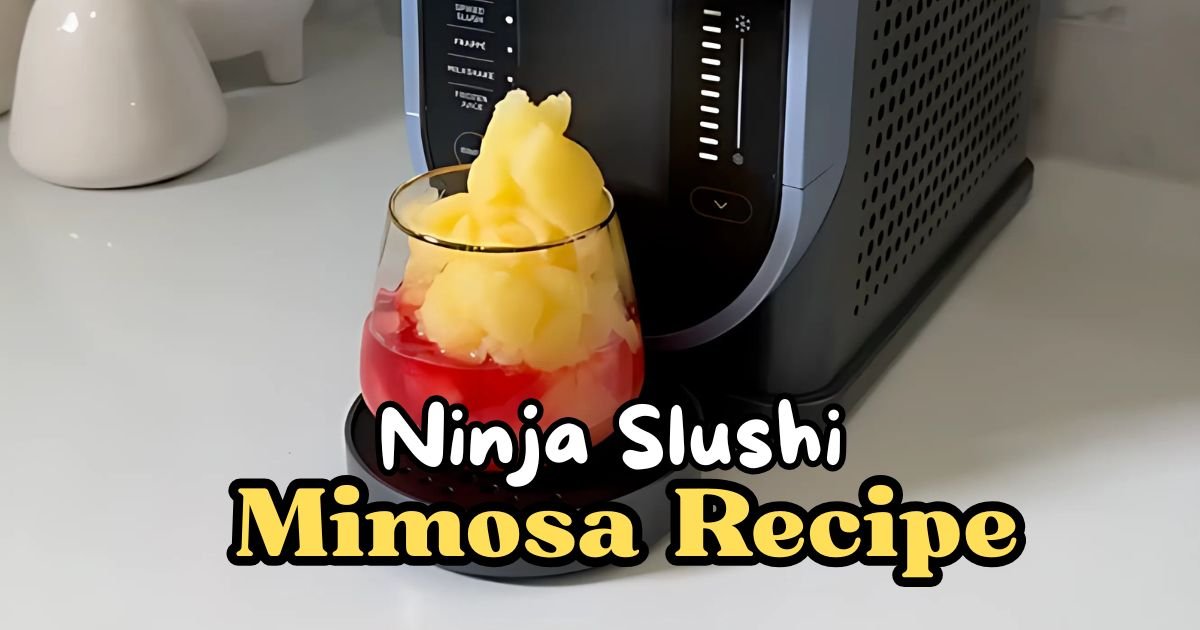
Ninja Slushi Mimosa Recipe
A sunny afternoon, a light breeze, and you’re holding a frosty glass of a Ninja Slushi Mimosa. This drink is a fun twist on the classic mimosa, blending bubbly champagne with fresh orange juice into a slushy treat.
Using my Ninja Slushi machine, I make this recipe in minutes, and it’s so easy! You’ll love it because it’s refreshing, looks fancy, and tastes amazing. Whether you’re chilling by the pool or hosting a brunch, this drink will impress everyone.
Try it for a cool, summery vibe! Want another frozen drink idea? Check out my Ninja Slushi Daiquiri Recipe for more fun.

Why You Love This Ninja Slushi Mimosa Recipe
I can’t get enough of this Ninja Slushi Mimosa Recipe, and I bet you’ll feel the same! Here’s why it’s a winner:
- Super Refreshing: The slushy texture cools you down on hot days.
- Easy to Make: The Ninja Slushi does all the hard work in minutes.
- Looks Fancy: Serve it in a chilled glass, and everyone will think you’re a pro.
- Customizable: Swap juices or add fruit for your own twist.
- Perfect for Any Event: Great for brunches, BBQs, or just relaxing at home.
This recipe is a hit because it’s simple yet feels special. The Ninja Slushi turns basic ingredients into a frosty, fun drink that’s perfect for sipping. You don’t need to be a chef to nail it—just follow my steps, and you’re set!
Ninja Slushi Mimosa Ingredients
Here’s everything you need to make this yummy drink. I’ve included details to help you pick the best ingredients.
- Chilled Champagne or Sparkling Wine (750mL bottle): I use a dry champagne like Prosecco because it’s light and bubbly. Pick one you’d enjoy drinking on its own. Make sure it’s chilled in the fridge for at least 2 hours before using. If you want a budget-friendly option, any sparkling wine works great.
- Pulp-Free Orange Juice (24 ounces): Fresh-squeezed is awesome for a bright, tangy flavor, but store-bought works too. Go for pulp-free to keep the slushy smooth. I like brands like Tropicana or Simply Orange for consistent taste.
- Optional: Orange Slices (for garnish): These add a pop of color and make your drink look Instagram-ready. Choose firm, juicy oranges and slice them thinly.
Helpful Swaps
If you’re missing something or want to mix it up, try these swaps:
- No Champagne? Use sparkling cider or white grape juice for a non-alcoholic version. It’s just as tasty!
- Different Juices: Try grapefruit or pineapple juice instead of orange for a fun twist.
- No Fresh Oranges? Skip the garnish or use a lemon slice for a similar vibe.
Kitchen Equipment Needed
You don’t need much to whip up this drink, but here’s what I use:
- Ninja Slushi Machine: The star of the show! It freezes the drink into a perfect slushy.
- Measuring Cup: To measure the orange juice accurately.
- Chilled Glasses: I use tall champagne flutes or mason jars to keep the drink cold.
- Spoon or Straw: For stirring and sipping.
- Knife and Cutting Board: If you’re slicing oranges for garnish.
How to Make Ninja Slushi Mimosa
I’m excited to walk you through making this Ninja Slushi Mimosa Recipe! It’s so easy, even if you’re new to cooking. Follow these steps, and you’ll have a frosty drink in no time.
Step 1 | Set Up the Ninja Slushi
Place your Ninja Slushi on a flat counter. Slide the condensation catch under the evaporator, as shown in the manual. Install the auger by sliding it over the evaporator and twisting it into place. Then, slide the vessel over the auger and lock it by pushing the bail handle back.
Step 2 | Chill Your Ingredients
Make sure your champagne and orange juice are cold. I pop mine in the fridge the night before. Cold ingredients help the Slushi freeze faster.
Step 3 | Measure and Pour
Open the top cover of the Ninja Slushi. Pour in 24 ounces of pulp-free orange juice, then add the entire 750mL bottle of chilled champagne. Close the cover tightly. Don’t add ice or any solid stuff—it’ll mess up the machine.
Step 4 | Choose the Preset
Plug in the machine and press the power button. Select the “SPIKED SLUSH” preset, which is perfect for drinks with alcohol. The default temperature is great, but if you want a thicker slush, press the up arrow to increase the freeze level.
Step 5 | Let It Freeze
The machine will start spinning, and you’ll see the liquid turn slushy. It takes about 30–45 minutes, depending on how cold your ingredients were. The Slushi beeps three times when it’s ready, and the LEDs stop pulsing.
Step 6 | Serve It Up
Place a chilled glass on the drip tray under the handle. Pull the handle slowly to pour the slushy mimosa into the glass. Stop when the glass is full by releasing the handle. Add an orange slice on the rim for a cute touch.
Step 7 | Enjoy Right Away
Sip your mimosa while it’s frosty! The Ninja Slushi keeps it cold for up to 12 hours, but it’s best fresh.
Recipe Tips for Success
Here are some quick tips to make your Ninja Slushi Mimosa even better:
- Use Cold Ingredients: Always chill your champagne and juice first. It speeds up the freezing process.
- Don’t Overfill: Stick to the 64-ounce max fill line to avoid spills.
- Adjust Texture: If the slush is too thick, lower the temperature by pressing the down arrow. Too thin? Increase it.
- Clean Right Away: Run the rinse cycle after serving to make cleanup easier.
- Taste Test: If it’s too sweet, add a splash of soda water to balance it out.
Ninja Slushi Mimosa Serving Suggestion
This Ninja Slushi Mimosa is perfect for so many moments! Here’s how I love to serve it:
- Brunch Vibes: Pair it with pancakes or a fruit platter for a sunny morning.
- Poolside Sips: Serve in mason jars with straws for a chill summer day.
- Fancy Nights: Use champagne flutes and orange slices for a classy touch.
- Big Batches: Make it for a crowd at BBQs or birthdays—it’s a crowd-pleaser!
I love serving this mimosa because it’s versatile and fun. Whether you’re hosting a big brunch or just relaxing at home, it sets the mood. The frosty texture and bright orange flavor make every sip feel special. Try it at your next get-together, and watch everyone ask for seconds!
How to Store Ninja Slushi Mimosa
Storing this Ninja Slushi Mimosa Recipe is tricky because it’s best fresh, but here’s what I do. If you have leftovers in the Ninja Slushi, keep the machine running to maintain the slushy texture for up to 12 hours.
Don’t turn off the preset until you’ve dispensed it all. For longer storage, pour the mix into an airtight container and freeze it. It’ll last about a week but may lose its fizz. Thaw it slightly and stir before serving.
Don’t refreeze it in the Slushi machine—pour it back in and run the “SPIKED SLUSH” preset again. This keeps the drink tasting great!
Ninja Slushi Mimosa Recipe FAQs
1. Can I make this without alcohol?
Yes! Swap the champagne for sparkling cider or white grape juice. Use the “SLUSH” preset instead of “SPIKED SLUSH” for the best texture. It’s just as refreshing and great for kids or anyone avoiding alcohol. Follow the same steps, and you’ll get a frosty, non-alcoholic mimosa that’s perfect for any time of day. Just make sure your juice is pulp-free to keep it smooth.
2. What if my slushy is too thick?
If your mimcracker is too thick, lower the temperature by pressing the down arrow on the Ninja Slushi control panel. Wait 10–15 minutes and check the texture. You can also add a splash of soda water to thin it out. Keep the machine running while you adjust to get it just right. It should be sippable and smooth.
3. Can I use other juices?
Absolutely! Try grapefruit, pineapple, or cranberry juice for a fun twist. Just make sure it’s pulp-free to avoid clogging the machine. Stick to the same amount (24 ounces) and follow the recipe steps. Each juice gives a unique flavor, so experiment to find your favorite. The “SPIKED SLUSH” preset works for all of them.
4. How do I clean the Ninja Slushi?
Run the rinse cycle right after serving to clean the inside. Then, remove the vessel, auger, and condensation catch. Wash them with warm, soapy water and rinse well. Let them air dry. Don’t put parts in the dishwasher—it can wear them out. Cleaning right away keeps the machine ready for your next drink.
5. Why isn’t my mimosa freezing?
If it’s not freezing, your ingredients might be too warm. Always use chilled champagne and juice. Also, check that you’re using the “SPIKED SLUSH” preset and the machine is on a flat surface. If it’s still not working after 60 minutes, increase the temperature by one level, wait 10 minutes, and check again.
6. Can I add fruit to the Ninja Slushi?
No, don’t add solid fruit like orange slices to the machine—it can damage it. The Ninja Slushi is for liquids only. If you want fruit flavor, use fruit juice or blend fruit into a smooth liquid first, then pour it in. Garnish with fruit slices after serving for a pretty look.
Ninja Slushi Mimosa Recipe

Make a refreshing Ninja Slushi Mimosa in just 35 minutes! This bubbly frozen mimosa recipe blends champagne and orange juice for the perfect brunch slush.
Ingredients
- Champagne or Sparkling Wine (dry, chilled): 750 mL (1 bottle)
- Pulp-Free Orange Juice: 24 ounces (3 cups)
- Optional Garnish – Orange Slices: 1–2 thin slices per glass
Instructions
Step 1 | Set Up the Ninja Slushi
Place your Ninja Slushi on a flat counter. Slide the condensation catch under the evaporator, as shown in the manual. Install the auger by sliding it over the evaporator and twisting it into place. Then, slide the vessel over the auger and lock it by pushing the bail handle back.
Step 2 | Chill Your Ingredients
Make sure your champagne and orange juice are cold. I pop mine in the fridge the night before. Cold ingredients help the Slushi freeze faster.
Step 3 | Measure and Pour
Open the top cover of the Ninja Slushi. Pour in 24 ounces of pulp-free orange juice, then add the entire 750mL bottle of chilled champagne. Close the cover tightly. Don’t add ice or any solid stuff—it’ll mess up the machine.
Step 4 | Choose the Preset
Plug in the machine and press the power button. Select the “SPIKED SLUSH” preset, which is perfect for drinks with alcohol. The default temperature is great, but if you want a thicker slush, press the up arrow to increase the freeze level.
Step 5 | Let It Freeze
The machine will start spinning, and you’ll see the liquid turn slushy. It takes about 30–45 minutes, depending on how cold your ingredients were. The Slushi beeps three times when it’s ready, and the LEDs stop pulsing.
Step 6 | Serve It Up
Place a chilled glass on the drip tray under the handle. Pull the handle slowly to pour the slushy mimosa into the glass. Stop when the glass is full by releasing the handle. Add an orange slice on the rim for a cute touch.
Step 7 | Enjoy Right Away
Sip your mimosa while it’s frosty! The Ninja Slushi keeps it cold for up to 12 hours, but it’s best fresh.
Nutrition Information:
Serving Size: 1Amount Per Serving: Calories: 145Sodium: 5mgCarbohydrates: 13gSugar: 11gProtein: 0.5g
Did you make this Ninja Slushi Mimosa Recipe? Please leave a ⭐ rating and review!